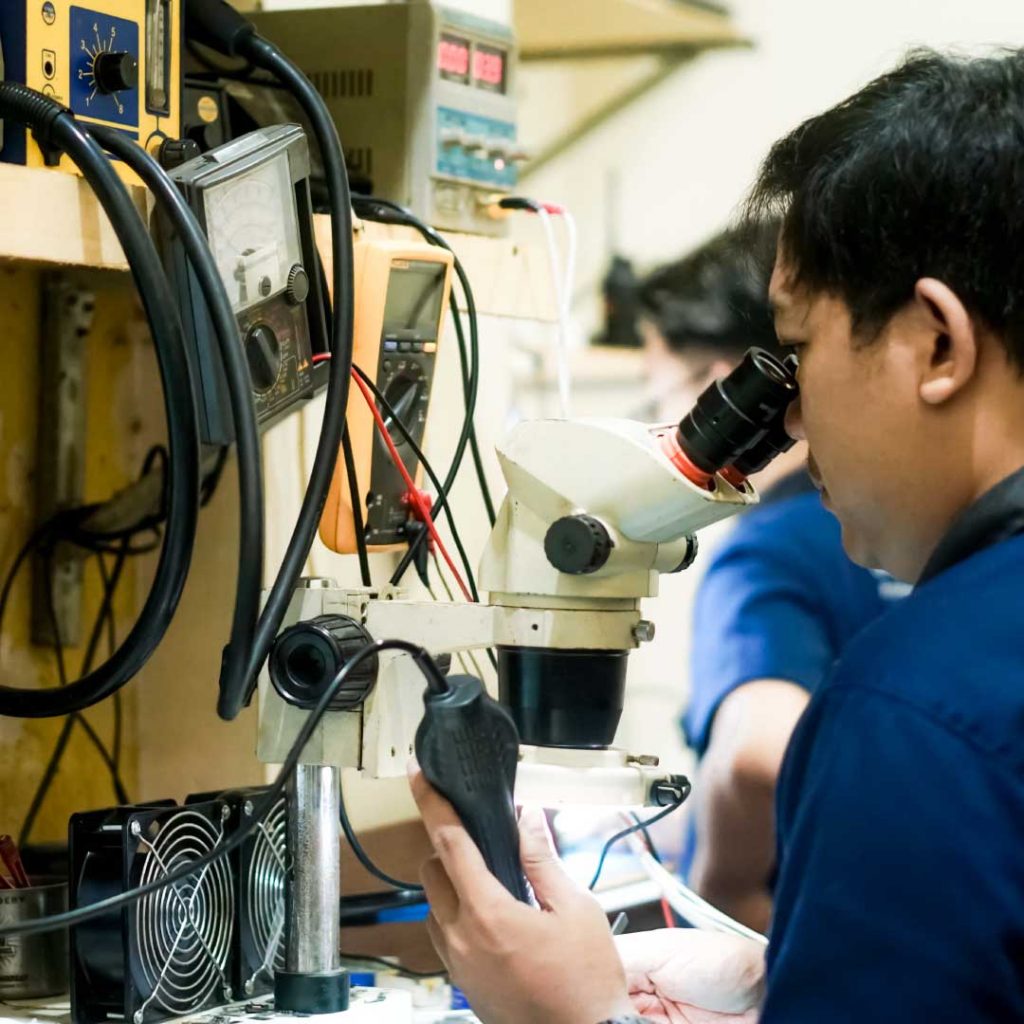
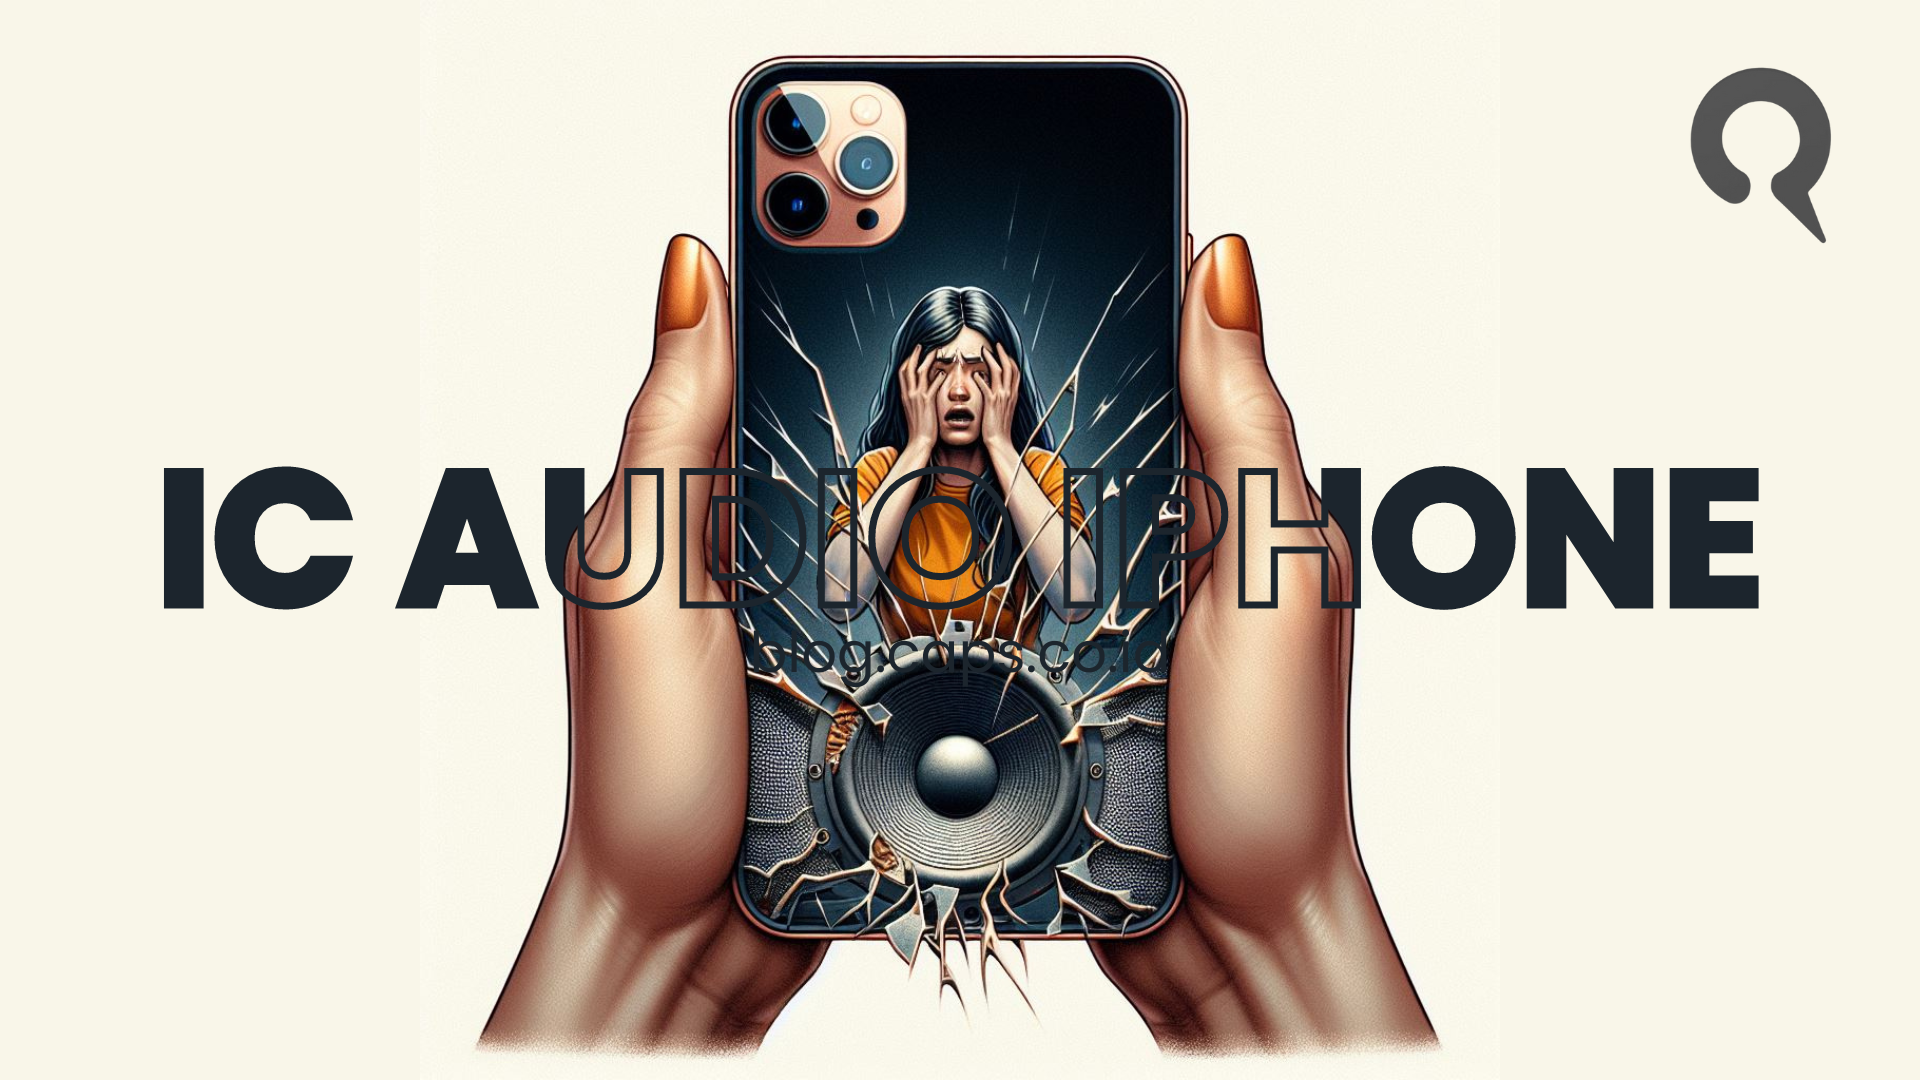
The audio IC is a microchip that manages the audio functions on your iPhone, especially when you're on a call. Damage to the iPhone Audio IC is a common problem on the 7 and 7 Plus models, but it can also occur on other models. Damage to the audio IC is usually caused by drops, bumps, or exposure to water.
Characteristics of Damaged iPhone Audio IC
- Voice memo grayed out
- Cannot record voice
- Siri can't hear your voice
- There is a notification: No audio device found
- Speaker button grayed out during calls
- Screen recorder iPhone no sound
If you find one or more of the above characteristics, then you need to repair your audio IC immediately. How can you do this? There are several solutions you can try, depending on the extent of the damage and the condition of your iPhone.
1: Cleaning the Speaker Component on iPhone
The first solution you can try is to clean the speaker component on your iPhone. Sometimes, the sound on your iPhone can be compromised by dust, dirt, or water getting into the speaker holes. This can interfere with the performance of the audio IC and cause the sound to not come out or be unclear. To clean the speaker components, you can use tools such as:
- Clean and dry toothbrush
- Cotton or wet wipes
- Hair dryer or fan
The method is as follows:
- Turn off your iPhone and remove any connected accessories, such as earphones, charger, or case.
- Use a toothbrush to gently and carefully brush the speaker hole. Do not press too hard or poke into the holes, as this may damage the components inside.
- Use a cotton swab or wet tissue to remove any remaining dust or dirt around the speaker hole. Make sure the cotton or tissue is not too wet, so as not to increase the humidity inside the iPhone.
- Use a hair dryer or fan to dry the speaker holes. Do not use temperatures that are too hot or too cold, as this may damage the components inside. Place the hairdryer or fan about 15 cm away from the speaker hole, and direct the wind at the speaker hole for a few minutes.
- Restart your iPhone and check whether the sound is normal or not.
2: Replacing the Audio IC
The second solution you can try is to replace the audio IC. This is the most effective solution, but also the most expensive and risky. Replacing the audio IC requires specialized tools and a high level of expertise, as the audio IC is a very small and fragile component.
If you're not experienced, you could end up damaging your iPhone even more. Therefore, this solution is only recommended if you are absolutely sure that your audio IC damage is severe and cannot be repaired in any other way. In addition, you should also look for a trusted and professional iPhone service service, so that the results are maximized and not disappointing.
The price of iPhone audio IC service varies depending on the model and condition of your iPhone. Here is the estimated price of iPhone audio IC service, a specialized and trusted iPhone service service:
- iPhone 6/6 Plus: Rp 299,000
- iPhone 7/7 Plus: IDR 399,000
- iPhone 8: IDR 399,000
- iPhone X: IDR 559,000
- iPhone XR: IDR 559,000
- iPhone XS: IDR 559,000
- iPhone XS Max: IDR 659,000
- iPhone 11: IDR 749,000
- iPhone 11 Pro: IDR 749,000
- iPhone 11 Pro Max: IDR 749,000
- iPhone 12: IDR 1,049,000
- iPhone 12 Mini: IDR 1,049,000
- iPhone 12 Pro: IDR 1,049,000
- iPhone 12 Pro Max: IDR 1,049,000
- iPhone 13: IDR 1,149,000
- iPhone 13 Mini: IDR 1,149,000
- iPhone 13 Pro: IDR 1,149,000
- iPhone 13 Pro Max: IDR 1,149,000
Estimated processing time ranges from 2 hours to a maximum of 3 days, depending on the extent of the damage and the availability of stock audio ICs. You can watch the technician work right in front of you, or you can leave your iPhone and pick it up when you're done.
3: Replacing Speaker Components
The third solution you can try is to replace the speaker components. This is the easiest and cheapest solution, but also the least successful. Replacing the speaker components can only fix the iPhone sound if the problem is with the speaker itself, not the audio IC.
To replace the speaker, you will need tools such as:
- A star screwdriver that matches the size of your iPhone's bolts
- Spudger or soft and flexible case opening tool
- Tweezers or small, precise tweezers
- Strong and safe suction cup or suction device
The method is as follows:
- Turn off your iPhone and remove any connected accessories, such as earphones, charger, or case.
- Use a star screwdriver to unscrew the two bolts on the bottom of the iPhone, next to the charger port.
- Use the suction cup to lift the iPhone screen out of the case. Place the suction cup on the bottom of the screen and gently pull upwards. Do not pull too hard or too far, as there is a cable connecting the screen to the machine. Keep the angle between the screen and the case no more than 90 degrees.
- Use the spudger to remove the cables connecting the display to the machine. There are four cables to remove: the LCD cable, digitizer cable, front camera cable, and sensor cable. Do not use hard or sharp tools, as they may damage the cables or connectors. Use the flat, soft end of a spudger and gently lift the cables from the connector.
- Use a star screwdriver to unscrew the two bolts that secure the speaker at the bottom of the machine. Don't lose the bolts, as you'll need them again later.
- Use tweezers to lift the speaker out of place. Do not pull too hard or touch other components, as this may damage them. Be careful with the antenna cable next to the speaker, don't disconnect it.
- Replace the old speaker with the new speaker you've purchased. Make sure the new speaker matches your iPhone model and series. Place the new speaker in the same place as the old speaker, then gently press down so that it sticks well.
- Replace the two bolts that secure the speaker with a star screwdriver. Do not install the bolts too tightly or too loosely, as this may damage the speaker or engine.
- Attach the display back to the case by reconnecting the cables that were disconnected earlier. Starting from the sensor cable, front camera cable, digitizer cable, and LCD cable. Make sure the cables are properly and tightly seated in their respective connectors. Do not cross or bend the cables, as this may damage them.
iPhone Audio IC Damage Conclusion
Those are some solutions that you can try to solve iPhone audio IC damage. The first solution is to clean the speaker components, the second solution is to replace the IC, and the third solution is to replace the speaker components. You can choose the solution that best suits your condition and budget.
However, if you're unsure or inexperienced, it's best to bring your iPhone to a professional and trusted service provider, such as Candra Apple Solution. They will handle your iPhone quickly, safely, and with quality.


