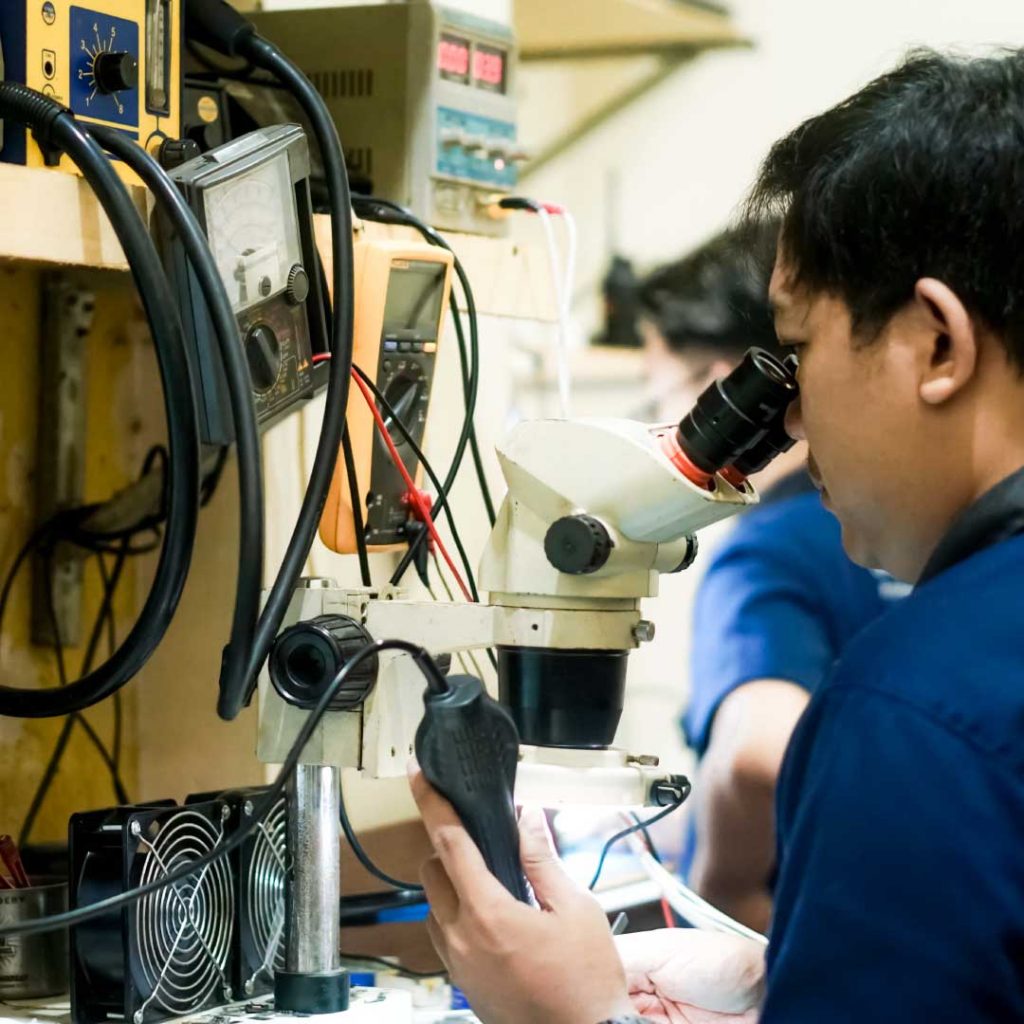
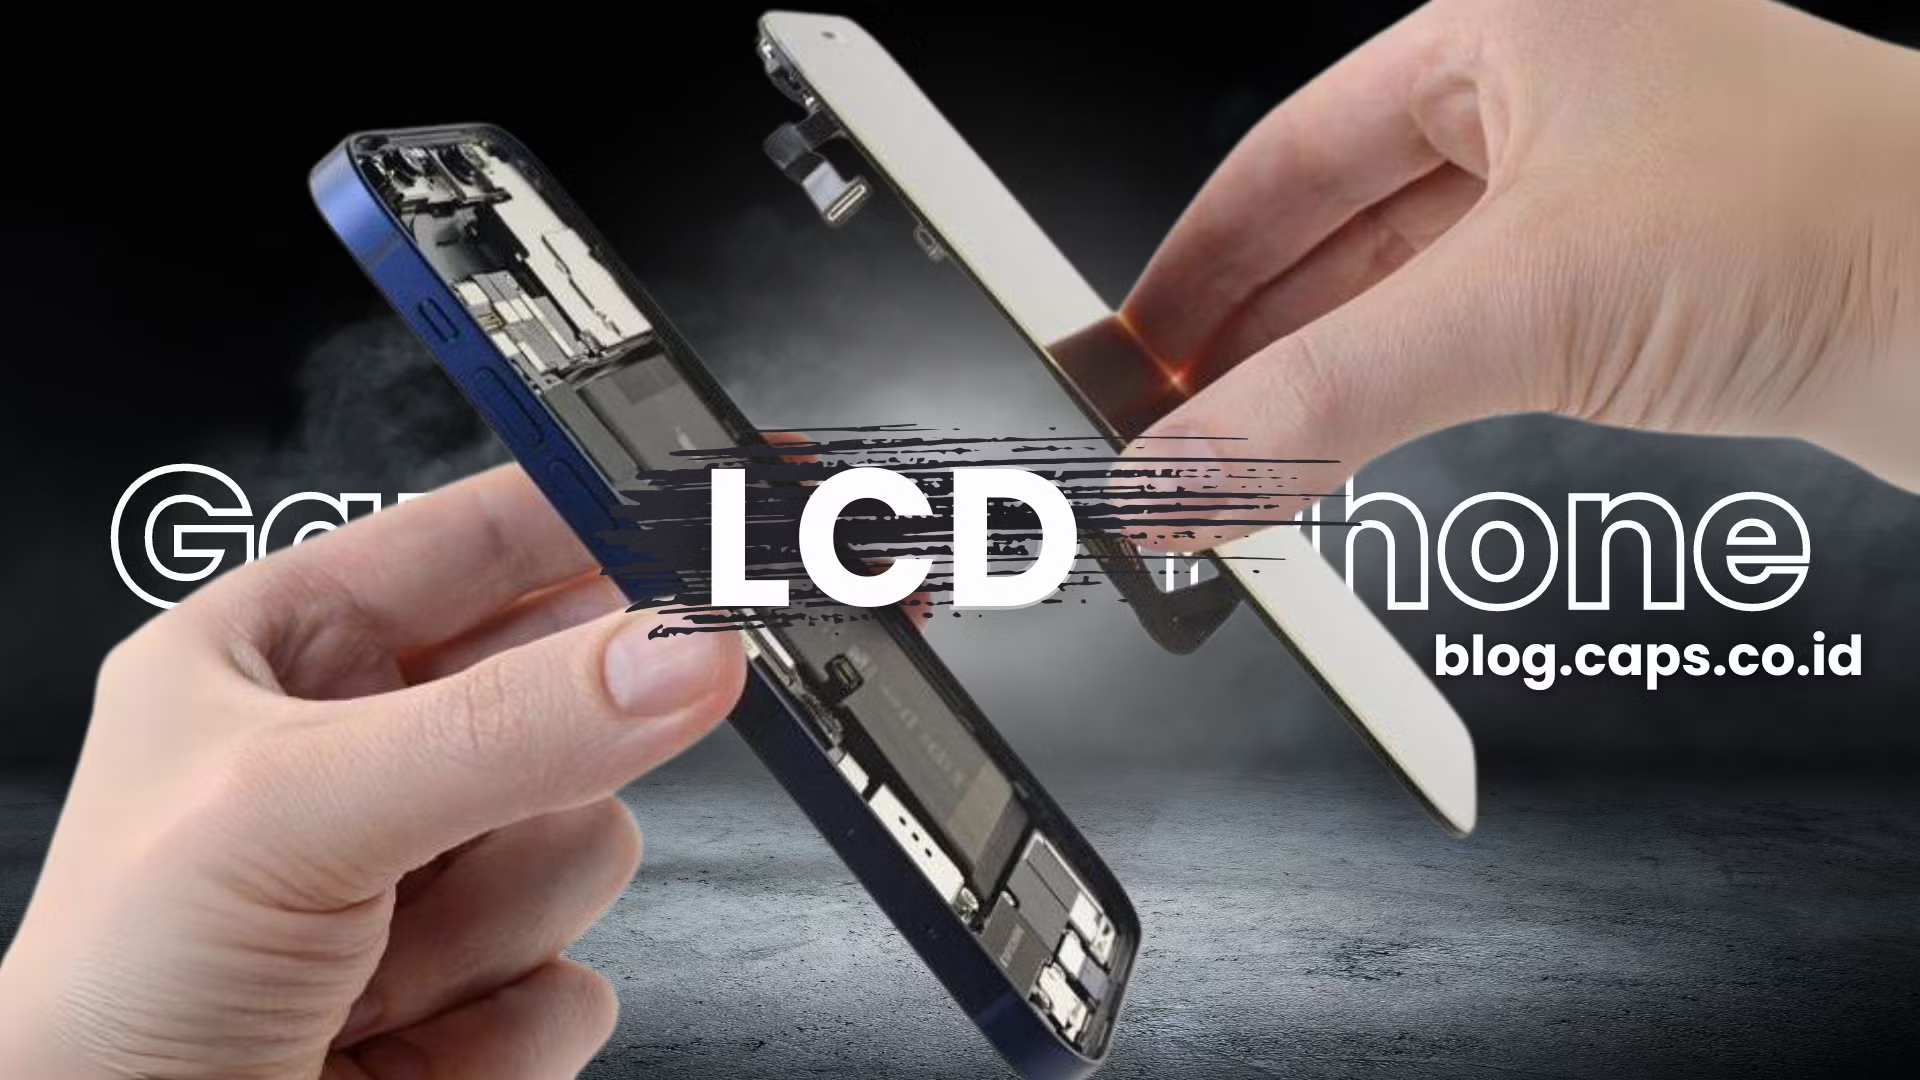
Replacing the LCD on your iPhone with an original one can be a more economical solution than taking it to an authorized service center. However, to ensure the process goes smoothly, it's important to understand the correct steps and use the right tools. In this article, we'll provide a complete guide on how to replace your iPhone's original boot LCD, from an introduction to how to use an LCD programmer. Check out these steps to ensure your iPhone screen continues to function optimally after replacement.
What is an iPhone Original Copied LCD?
An iPhone original copy LCD is a screen taken from another iPhone device, usually from a used or broken iPhone. These LCDs offer better quality compared to KW (knockoff) LCDs as they are original components manufactured by Apple.
Differences between Genuine Copotan LCD and KW LCD
The most noticeable difference between a genuine LCD copy and a KW LCD is in terms of quality. Genuine copied LCDs have a sharper display, more accurate touch response, and longer durability. In addition, features such as True Tone usually still works on original LCDs, while on KW LCDs this feature often doesn't work. KW LCDs also often have issues such as inaccurate colors, inconsistent brightness levels, and less precise touch response.
Preparation of Tools and Materials
Before starting the LCD replacement process, it is important to prepare the right tools and materials so that the replacement can be done safely and effectively. Here are the tools you need:
List of Tools Needed
- iPhone-specific screwdrivers (Pentalobe and Phillips): To unscrew the small screws on the iPhone.
- Suction cup: Used to safely pull out the screen without damaging the case.
- Spudger (plastic opening tool): Helps separate the screen from the iPhone body.
- Tweezers: For precision mounting and lifting of small parts.
- Case opening tool: To carefully separate the screen from the body.
- LCD Programmer: Used to copy data from the old LCD chip to the new LCD.
Safety Tips
When using these tools, it is important to always be careful not to damage the iPhone's internal components. Also, make sure to work on a clean, well-lit surface to avoid losing small parts.
Importance of iPhone Model Identification
Before replacing the screen, make sure you know the iPhone model you have. Each model has a different component layout, so it's important to make sure the LCD you're using is compatible with your iPhone model. For example, an iPhone 8 screen cannot be used on an iPhone X due to differences in technology and screen size.
You can check the iPhone model number on the back of the device or through settings to ensure that the screen to be installed matches.
Warranty and Risk Warnings
Replacing the iPhone LCD yourself may void the official warranty from Apple. If your iPhone is still under warranty, it is highly recommended to consider taking the device to an authorized service center. Also, improperly done replacements can damage other components, such as the motherboard or camera, which can lead to much higher repair costs.
Steps to Open iPhone Case
Here are the steps to safely open the iPhone case:
- Turn off your iPhone first.
- Use Pentalobe screwdriver to unscrew the two screws near the charging port.
- Paste suction cup near the home button (for models with this button), and pull gently to separate the screen from the case.
- Use spudger to help carefully separate the display from the case. Do not pull too hard, as the display's flexible cable is still connected to the motherboard.
Disconnecting the Battery Before Replacement
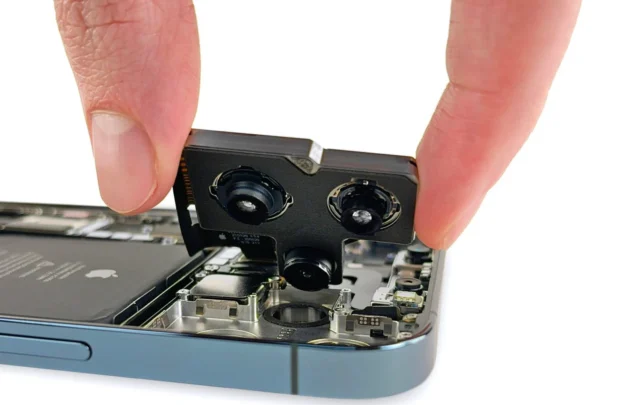
Once the screen is successfully separated, the next step is to disconnect the battery connector. This is an important step to prevent damage to the electronic components during LCD replacement. Locate the battery connector and use spudger to safely disconnect.
Process of Replacing Old LCD with Original Copotan LCD
Once the battery connection is disconnected, you can start replacing the old LCD with the original one. Here are the steps:
- Remove the screws connecting the LCD connector shield.
- Carefully remove the flexible cable connecting the old LCD.
- Connect the original LCD to the corresponding connector on the motherboard.
- Ensure that all connectors are well seated and secure before proceeding to the next step.
Also Read: Solve Green Screen on iPhone 13 Pro and 13 Pro Max, No LCD Replacement!
New LCD Function Check
Before you reassemble the case, turn on iPhone to check that the new LCD is working properly. Make sure the touchscreen response, color display, and brightness level are working as before.
If the screen is not working properly, double-check the flexible cable connections and make sure everything is attached correctly.
Reassembling iPhone Properly
If the check has been done and everything is working properly, turn off the iPhone again and reconnect the battery connector. After that, reinstall the connector shield and the screws that were removed. Tape the screen back to the case and tighten the screws on the bottom of the iPhone with a Pentalobe screwdriver.
Using Programmer to Copy Data from Old LCD Chip to New LCD
To keep features like True Tone To keep it working, you need to copy the data from the old LCD chip to the new LCD using a programmer tool. Here are the steps:
- Connect Old LCD to a programmer (e.g. JC Pro1000S or Qianli iCopy Plus) to perform the data reading process.
- After the data is read, connect Imported LCD or new to the programmer, and do data writing to a new LCD chip.
- After the data is transferred, check if features such as True Tone function properly to ensure the screen works optimally after replacement.
Conclusion
Replacing your iPhone's original faulty LCD requires precision and the right tools. If done correctly, you can repair your screen without sacrificing quality or features like True Tone. However, you should also consider the risk of losing your warranty and possible damage if you're not careful.
By following the guidelines above, you can safely replace your iPhone LCD and ensure your device's performance remains optimal. Make sure to always use a quality LCD to keep your iPhone functioning as it was.


